Thursday, July 22, 2010

Cupcakes for a 4 Year Old

White Cupcakes with Pineapple Cherry Cream Cheese Frosting for a four-year-old's princess party.


Cake Batter Ice Cream with colorful sprinkles. Topped with dark chocolate Hershey's sauce and a cherry.


Cake Batter Ice Cream (makes enough for a 1 1/2 quart ice cream maker)
Adapted from allrecipes

1 cup milk
1/2 cup white sugar
2 egg yolks, beaten
1 teaspoon vanilla extract
2 cups heavy whipping cream
3/4 cup white cake mix, sifted

(Save the egg whites and the remaining cake mix for your cupcakes.)

1. In a saucepan, whisk together milk, sugar, egg yolks, vanilla extract, whipping cream and white cake mix. Cook over medium-low heat until ice cream mixtures reaches 160 degrees F. Stir frequently to keep mixture from sticking. Once ice cream mix reaches desired temp, remove from heat and place the saucepan in the fridge or freezer until the mixture is cold.
2. Pour the chilled mixture into the ice cream maker and freeze according the ice-cream maker directions. When the ice cream reaches a soft serve consistency, stop the maker and place the ice cream in a one- or two-quart plastic container to freeze.
3. For a fun punch - add sprinkles to the ice cream and stir it through the ice cream.

White Cupcakes
Use remaining cake mix (from an 18.25 oz box), two egg whites 1 1/3 tbsp vegetable oil, and just shy of 2 cups of water. Follow directions on cake mix box, baking 21-24 minutes.

Makes about 15 cupcakes.

Pineapple Cherry Cream Cheese Frosting
1 (8 ounce) cream cheese, softened
1 stick of butter, softened
1 teaspoon vanilla
1 box (16 ounce) box powdered sugar
1 (8 ounce) can crushed pineapple, drained
1/2 cup maraschino cherries, chopped into small bits.

1. With an electric mixer, combine cream cheese and butter until well combined. Add powdered sugar a little at a time, until well combined. Add vanilla and mix.
2. Stir in (with a spoon, not mixer) pineapple and cherries. For a little color, you can add cherry juice, but don't get it too thin. If you want more color, add a drop or two of red food coloring.
3. Frost cupcakes and enjoy! Top with a cherry if you want.


And tomorrow - I'll have cupcake flags for you to download. Be sure to check back!


See something you like? Print it. Share it. Email it. But please, link back here when you do.

Wednesday, July 21, 2010

Princes and Princesses

Fairy tales are where the real magic happens. The dashing knight leaps to the rescue of the beautiful princess without a moment to spare. A green, lumpy frog can transform into a handsome prince after all. And always, the perfect couple walk arm in arm together, into Happily Ever After.

So for just a day - let's all be princesses and princes, shall we?


Princess crowns for every young lady at the party.


A shield of his very own for every young man. (The T - for the birthday girl, of course!)


For this at-school party, a moment of fancy-free fun, conversations of castles and fairy tales. Talk of sword battles and heroes' welcomes.

Birthday party perfection.


Make your own crowns and shields.
In order to reach maximum royalty status on the day of a princess party, be prepared to make a HUGE (semi-manageable, if you try) mess.


What You'll Need
2mm-thick foam sheets - We did purple and pink for the crowns; blue and white for the shields
Headbands - Kids' headbands 4 for $1 at a dollar store.
Pack of glittered, princess-themed foam stickers
Scissors
Glue
Paint or glittered glue for the initials
Double-sided foam tape for attaching shields

What You'll Do
1. Draw or trace a crown and shield of your choice. I free-handed the crown, and my roommate traced the shield from a computer image.
2. With a thin-tip Sharpie, outline the crowns and shields onto the foam and cut out.
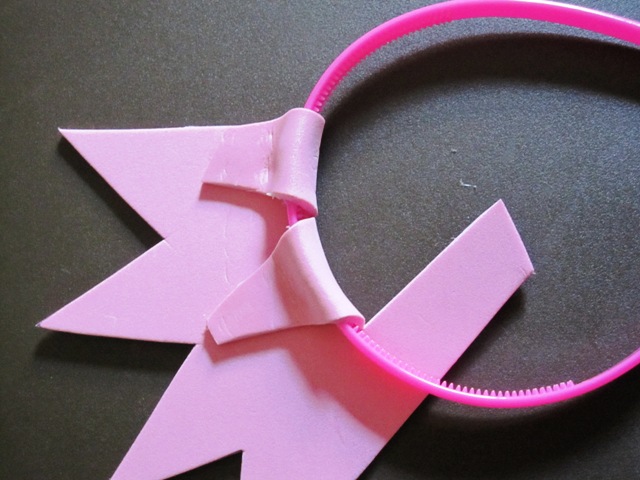
3. It's important you make the bottom portion of the crown longer so that you can make cuts into the foam to wrap around the headband. As you wrap the cuts around, dab some hot glue and hold until it's secured.


4. Cut out dots in a coordinating color for the points. Glue on with a dab of hot glue or school glue.


5. Decorate as you like. Or, if time permits at a party, put the crowns and stickers out for them to decorate. Very fun!


6. Cut the two pieces of shield, one larger than the other. Glue them together with hot glue or school glue.


7. With paint, marker, or glittered glue, make your decoration. In this case, a letter T for the birthday girl.


8. Use the double-sided foam tape to attach to clothes. This was easiest for this party, but you could always apply pins.


Then enjoy all the knights and princesses.


What is your favorite princess tale?
Mine? Sleeping Beauty.


See something you like? Print it. Share it. Email it. But please, link back here when you do.

Tuesday, July 20, 2010

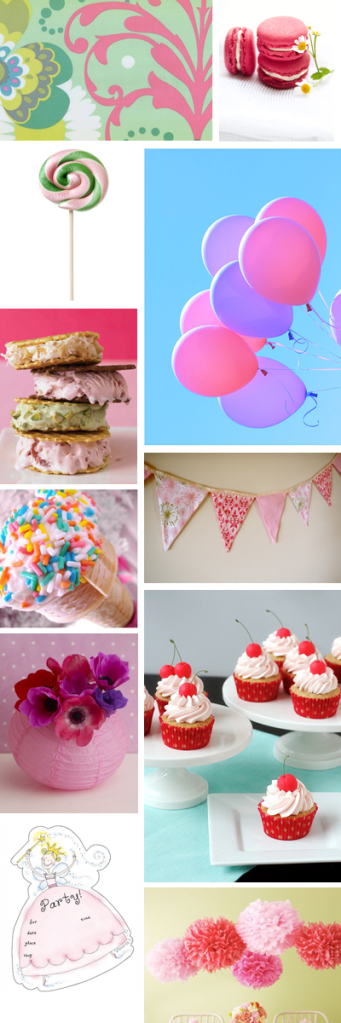
Inspiration

purlsoho.com | Mowielicious
Hammond's Candies | Pink Sherbet Photography
Woman's Day | Ice Cream Cone | SashaSews
Cupcakes Take The Cake | Country Living
Red Stamp | Martha Stewart


See something you like? Print it. Share it. Email it. But please, link back here when you do.

Monday, July 19, 2010

Birthday Party Links

A sweet girl in my life (we'll call her T) just turned 4, and we celebrated in big style for her birthday. So this week I'll be sharing some fun birthday things we did for the big day, as well as some other happy things I've run across while planning.

And what's better for birthday celebrations than free things?


July is Pilgrim's birthday, so head over to draw! pilgrim (click here) because each day she's giving away free printables for an amazing birthday party celebration. (I really love the colors she uses!) By the end of the month, you'll have everything you need for an out-of-this-world party.


Will someone throw me a bubble party??? With the Bubble Party Printable Pack from Amy at Living Locurto, you've got everything you need for a fabulous party.


Yellow Mums has a free download for these great favor boxes. They'd be great for anything, from a birthday to a bridal shower.


Cake pops are such a fun way to bring cake to the party, without all the slicing and icing and mess. Little Miss Momma has a great tutorial for these great cake pops.

Kimberly


See something you like? Print it. Share it. Email it. But please, link back here when you do.

Friday, July 16, 2010

Favorite Things: Cast Iron Skillets

Don't ask me how you season them. Don't ask me how you clean them.

Just let me cook in them. Please?


My grandmother gave me these. She has quite a few of them - her mother's and my grandfather's mother's. I have two right now, but I can't wait to get my hands on some others.


They're a thing of a beauty. A right of passage.


And they bake - beautifully.


Iron Skillet Brownies
from Amanda's Cookin'

What You'll Need
3/4 cup butter (1 1/2 sticks)
3 ounces unsweetened chocolate (chopped)
1/2 cup sugar
1 cup light brown sugar, tightly packed
3 eggs
1 teaspoon vanilla
1/4 teaspoon salt
3/4 cup all-purpose flour

The Steps
1. Preheat your oven to 325° F. You want it to cook low and slow so the top doesn't burn and the inside is too gooey.

2. Melt the butter and chopped chocolate in your skillet on a low heat. (By low, I mean low. Don't turn it up. You don't want to burn the butter and chocolate - which is easy if you turn it too high.) Stir until well combined with a wooden spoon. (Never metal.)

3. Add sugar and light brown sugar and stir until well combined.

4. Add eggs one at a time, stirring until well combined.

5. Add vanilla and combine.

6. Add flour and salt and stir well. Run a rubber spatula around the edges, making sure all the batter is well combined.

7. Bake for 50 minutes. If your pan is larger than 8 inches (what I used), it may take less time. Mine took exactly 50 minutes.

Enjoy! ♥


See something you like? Print it. Share it. Email it. But please, link back here when you do.

Thursday, July 15, 2010

Favorite Things: Paint + Canvas

I began to appreciate art at an early age. Probably because I can't actually paint. Or draw. Or take photos. Or even draw a stick figure. And I certainly can't sculpt.

Or at least I didn't think I could.

I'm still not an artist by any stretch, but I'm not so afraid to try.

A few studios in Birmingham began teaching "painting lessons" a few years back. It's really that you pick a night whose picture you want to paint, go in, and get step-by-step instructions to create your own version of an artist's painting.

So I got a little carried away. And did all these.


But I love art, even if it's mine. :)


See something you like? Print it. Share it. Email it. But please, link back here when you do.

Wednesday, July 14, 2010

Favorite Things: Things That Make Me Laugh

I could post pictures of comedies, comedians, funny animals. I could post links to my favorite sitcoms, bits of a funny SNL skit, or YouTube clips of a funny video.

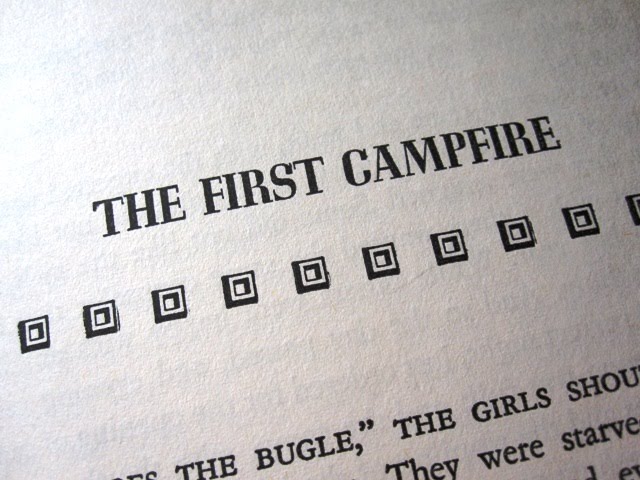
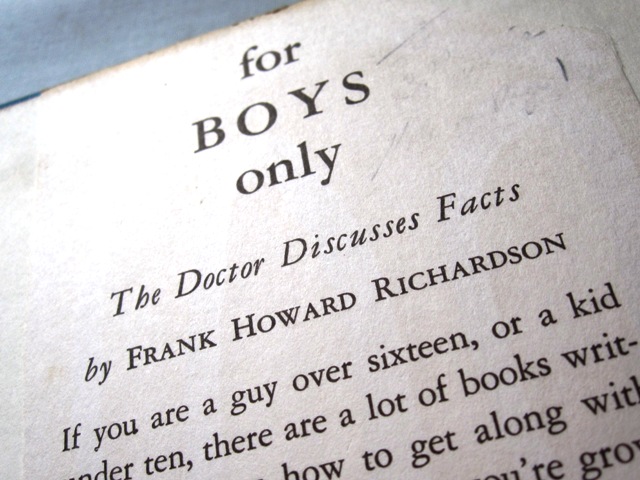
Instead, I'm sharing these two books. Because they're hilarious!!!


The date: Published in 1964.
Where I found them: A church rummage sale in Houston, Texas.
The laughs they've provided: Priceless.

Though I'm a girl of many words, these book don't need them. Mostly because the pictures are full of words. And I can't wait for you to read them.

Click on the pictures themselves to see larger images and read better.

And be prepared to laugh.


See something you like? Print it. Share it. Email it. But please, link back here when you do.

LinkWithin

Related Posts with Thumbnails