Showing posts with label cooking adventures. Show all posts

Thursday, September 16, 2010

Peaceful Pudding Pops

Peace be with you, pudding pops! These were so fun to make. My friend's little girl came over for a night of Candy Land and pudding pops. What a colorful night!


If you make your own, use popsicle sticks. These toothpicks were a baaaad idea.


Here's how you can make your own colorful pudding pops.

What You'll Need
White chocolate pudding (This gets you the best colors.)
Mini cups (Like the kind you keep by your sink)
6 small containers (For mixing pudding)
Food coloring
Popsicle sticks
Aluminum foil

1) Mix the pudding according to package directions. Then divide it into six small containers to add food coloring.


2) Add several drops of food coloring. This took more than I expected, so just keep adding until you get a color you like.


3) Scoop spoonfuls of the pudding pops into your cups to create individual layers.


4) When you've added all your layers, place your popsicle stick (here, a toothpick) in the center. Tear a small piece of aluminum foil off the larger roll, and slide it over the popsicle stick and press around the top of the cup.


5) Freeze for several hours. Slide out of cups and enjoy!

Photobucket


See something you like? Print it. Share it. Email it. But please, link back here when you do.

Tuesday, September 14, 2010

Sweet Cupcakes, Man!

Next Tuesday is the International Day of Peace, and though I'm pretty sure tie dye and hippie peace signs aren't the idea behind the day, I can't help but do some totally rad, hippie things this week. Like.... this!


Tie dye cupcakes! These were so totally fun to make and even more fun to eat! (P.S. No, I'm not eating left-over frosting/icing from the jar as I type this. Promise!) :)


So wanna know how to make some for you and your little Woodstock-ettes? Alright, here we go.

First, get a box of cake mix or make a basica vanilla cake. I used yellow cake mix. (The red layer was slightly orange because of this, so if you want, use white cake mix for better colors. Though to be honest, these colors were pretty rad.) Then divide the already-mixed batter into six containers--or however many colors you want. Add a small dallop of icing color gel and mix well.

I chose to use the gel because the color is much better than food coloring--as in I can't mix food coloring well. Also, food coloring is liquid and may make your cake batter too runny. Yes, even those drops. It takes quite a few to get a good color.


Layer the batter, one color at a time. One box of cake mix makes 24 cupcakes, so I did one pan of cupcakes that started with purple and went to red on top and another pan of cupcakes that started with red and went to purple on top.


Here's the cool thing about these cupcakes. You don't have to mix them. Actually, you shouldn't mix them or you'll just have brown cupcakes. As they cook, batter from the bottom rises slightly along the sides, giving these cupcakes their awesome tie dye look.

See? Some of the green has come up, and if you bite into it, you'll notice the blue and purple are also lining the sides of the cupcakes.


Then let the cupcakes cool, frost them up, cover with some sprinkles... and enjoy!


Okay, so that was totally rad! And tomorrow - tie-dye shirts!

Photobucket


See something you like? Print it. Share it. Email it. But please, link back here when you do.

Friday, August 27, 2010

Oh Boy Oh Blueberries

You know how you make a list of all the things you want to accomplish in a day - and then you plan to be finished with everything by a certain time so that you can move on to something that's exciting for you?

But then 40 other things pop up, completely messing up your timeline and throwing off the rest of your day - rendering you frustrated and upset that your plans have all gone awry?

That's today.


From Scratch Blueberry Muffins
adapted from Southern Living

Ingredients
2 cups self-rising flour
1/2 cup sugar
1 cup milk
1/4 cup vegetable oil
2 large eggs
1 cup fresh or frozen blueberries

Directions
Wash and clean your blueberries, removing any stems. Lightly grease a muffin pan--recipe makes 12 muffins--or place cup liners.

Pre-heat the oven to 400°.

Combine the flour and sugar in a large bowl. Make a well in center where you will pour your wet ingredients.

Whisk together the milk, oil, and eggs until well combined. Pour into flour mixture, and stir just until dry ingredients are moistened. Gently fold in the blueberries.

Spoon mixture into pans, filling two-thirds full.

Place the muffin pan in the oven and bake for 15 to 18 minutes or until golden brown.


See something you like? Print it. Share it. Email it. But please, link back here when you do.

Wednesday, August 25, 2010

Peanut Butter + Chocolate = Oh My!


Yes, it's heavenly. Yes, I ate more than my fair share. And yes, it's easy to make.

And if I hear dirty talk of calories and diets, I'll just post more.

Peanut Butter Squares
adapted from Southern Living

Ingredients
4 cups powdered sugar, sifted
1 (5 1/2-oz.) package graham crackers, crushed
1 cup creamy peanut butter
1 cup butter or margarine, melted
1 cup semisweet chocolate morsels, melted

Directions
1. Stir together first 4 ingredients in a medium-sized bowl. Firmly press mixture into an ungreased 13 x 9-inch pan. Spread melted chocolate evenly over peanut butter-graham cracker layer.

2. Leave at room temperature 2 hours or until chocolate is set. Don't speed up the process by putting it in the fridge. The chocolate will just melt when you return it to room temperature, and you'll have a mess. Then cut it into squares and enjoy!

Like we did!


Photobucket


See something you like? Print it. Share it. Email it. But please, link back here when you do.

Monday, August 23, 2010

It's a Wrap!

Just finished sewing a ruffle checkbook cover (revealing it tomorrow with a tutorial finally!), but I didn't want to leave you guys without an update -- since I got in too late Thursday to prepare an update for Friday. So sorry about that!

So I wanted to share this yummy wrap I love love. It's very fresh and makes a great dinner.


Spinach, Blue Cheese, Pecan, Chicken Wrap
adapted from Southern Living

Ingredients
1 pound chicken tenders
Seasoned salt
1 Tbsp canola or vegetable oil
1 8 oz. container of spreadable cream cheese, almost room temperature
2 Tbsp buttermilk
1/4 tsp garlic powder
1/4 tsp onion powder
1 4 oz. package of crumbled blue cheese
1/2 cup chopped, toasted pecans
1/2 cup dried cranberries
8 8-inch flour tortillas (I use whole wheat.)
1 Granny Smith apple, sliced thinly
4 cups baby spinach leaves

Directions
1. Lightly sprinkle chicken tenders with seasoned salt. Heat oil in large skillet over medium heat, and cook chicken tenders until done, flipping over after 4 to 5 minutes.

2. Combine cream cheese, garlic powder, onion powder, and blue cheese in a medium-sized bowl. Add in blue cheese, pecans, and cranberries.

3. Spread about 5 tablespoons of cream cheese mixture on each tortilla. Layer with apple slices, spinach leaves, and one or two chicken tenders (depending on how much you want).

4. Roll up, and secure with a toothpick. Then cut in half.


Want something a little lighter? Make the wrap minus the chicken. It's just as yummy and a great vegetarian lunch.

Photobucket


See something you like? Print it. Share it. Email it. But please, link back here when you do.

Wednesday, August 11, 2010

Let's Do the Salsa!

I'm bad at hostess gifts. Really bad. I usually give a bottle of wine when I go to someone's house for dinner or a party or get-together. But then they ask, "Oh is this one of your favorites?" I lie and say, "Yep! I absolutely love the fruit notes in this one."

I don't know what fruit notes are.

I don't know if fruit notes even exist.


So for a friend's pool party recently, I decided to up my game. Be a better gift giver. Skip the token bottle of wine... for a jar of salsa!


Restaurant-style salsa, partner.

The good stuff.

No big chunks, lots of flavor, and a little kick of heat.

Yum yum goodness! And, she can save it for later or serve it up at the party as another side dish. (Just be sure to bring a bag of chips too.)


Clearly, we didn't wait.


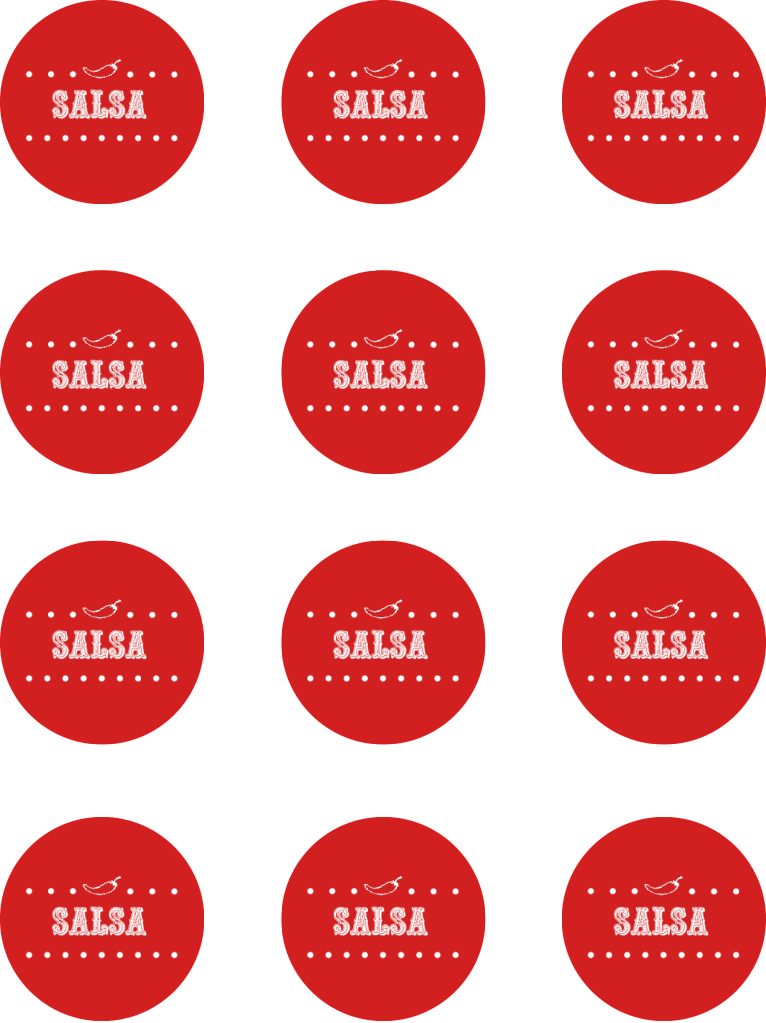
And you can get your very own salsa logos here or here! The circles are about 2 inches, so you can use a 2-inch punch for a solid-red button, or use a slightly larger scalloped one to get a look like mine.


I wouldn't leave you without the recipe, would I?

Restaurant-Style Salsa
Adapted from The Pioneer Woman

Ingredients
1 can (28 ounces) Whole Tomatoes With Juice -- I used diced because that's what I had on hand. It turned out fine.
2 cans (10 ounces) Rotel - diced tomatoes and green chiles -- This comes in original or mild. Original packs a little extra heat, but not much.
1/4 cup chopped onion
1 clove of garlic, minced
1/4 teaspoon sugar
1/4 teaspoon salt
1/4 teaspoon ground cumin
1/2 cup cilantro
juice from half a lime
1 whole jalapeno , quartered and sliced thin -- Use the whole jalapeno if you like some heat, half if you're weak a fan of milder heat.

Directions
Combine tomatoes, Rotel, onion, garlic, sugar, salt, cumin, cilantro, lime juice, and as much as you want of the jalapeno in a food processor. Pulse several times (for me it was about 10 times because my diced tomatoes were small than whole) until you get the sale the consistency you prefer. Taste and season accordingly; want more heat? More cumin or jalapeno.

Then refrigerate for about an hour to let all the good flavors mix and mingle. Enjoy with tortilla chips.


See something you like? Print it. Share it. Email it. But please, link back here when you do.

Tuesday, August 10, 2010

Lick-licious Pops

These popsicles are way easy. And waaay good on really hot summer days.

Don't get me wrong - I love a good strawberry and basil with balsamic vinegar (yes, for real) popsicle, but sometimes, I'm just like, "Give me something with a cartoon on it!"

This is that!


Except without the cartoon.

Get some awesome-rad-totally cool pop molds - like these Shooting Star Pop Molds from Tovolo.


Wash and chop a cup of strawberries. (The chopped strawberries should fill 1 cup, not the whole strawberries.)


Sprinkle about 2 teaspoons of sugar on the strawberries. Stir, and set aside.


Scoop out orange sherbet into a cold mixing bowl. I chilled mine slightly just to reduce melting.


Add two tablespoons orange juice and mix. (My container of sherbet was pretty soft already, so I think I added a little less. It just needs to be a very smooth texture.)


Fill your molds, first with sugar-covered chopped strawberries, then orange sherbet-orange juice mixture. Pack the sherbet slightly by banging the bottom of the mold gently on the counter. This gets air bubbles out and helps fill in gaps so the popsicle is more solid.


Then freeze for a few hours. And you've got a delicious, easy popsicle.

Because these pops aren't super hard like ice pops would be, you have to be a little careful taking them out of the mold. Warm the outside of the mold with your hand slightly and gently slide it out.


Of course, you don't have to do chopped strawberries and orange sherbet. You could do chopped kiwi with strawberry sherbet, or chopped pineapple with lime sherbet. Lots of options. Lots of fun!

Strawberry and Orange Sherbet Pops
Ingredients
1 cup chopped strawberries
2 teaspoons sugar
1/2 container orange sherbet
2 Tablespoons orange juice
Popsicle molds

Directions
1. Chill glass mixing bowl for sherbet.
2. Wash and chop strawberries.
3. Combine sugar with chopped strawberries and set aside while mixing sherbet.
4. Scoop sherbet out of container and add orange juice, up to 2 Tablespoons, until creamy and smooth.
5. Spoon sugar-strawberry mixture into the bottom of the pop mold. Then top with sherbet mixture.
6. Freeze several hours until sherbet has hardened.
7. Remove from pop and enjoy!

Photobucket


See something you like? Print it. Share it. Email it. But please, link back here when you do.

LinkWithin

Related Posts with Thumbnails