
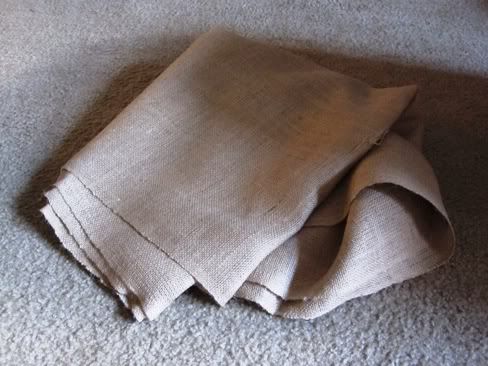
I went with a lighter burlap, but you could use the darker, more natural burlap. Or even a fun red or bleached white. I did see a navy blue burlap once. That would be really fun!
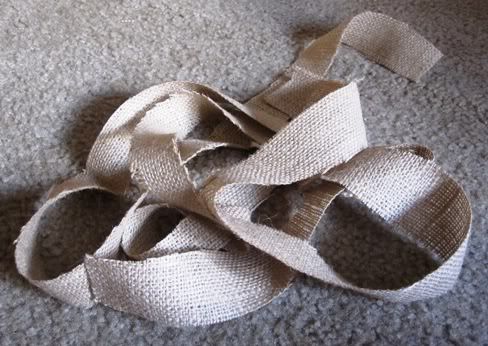
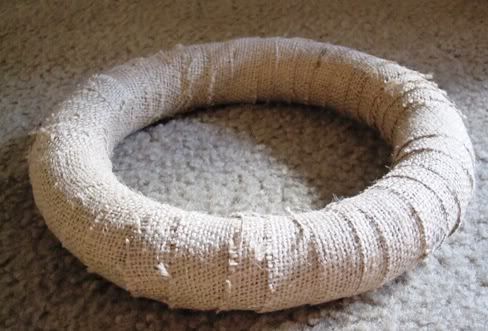
Cut the burlap into long, thin strips, and wrap the wreath with the strips. These strips were about 1 1/2 inches wide and about 3 feet long. It took several strips to cover the wreath, but I was wrapping them close together so you couldn't see the green wreath form underneath.
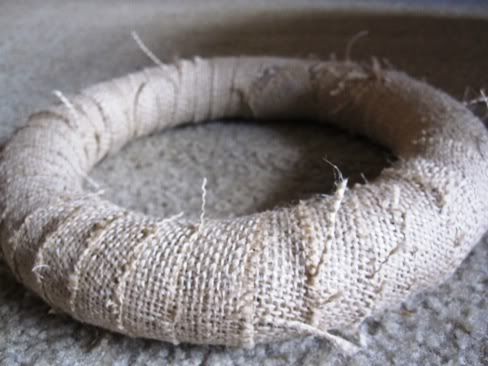
Once the wreath is wrapped, you'll likely notice lots of stray ends and frays. Just snip those off to clean up the look of the wreath.
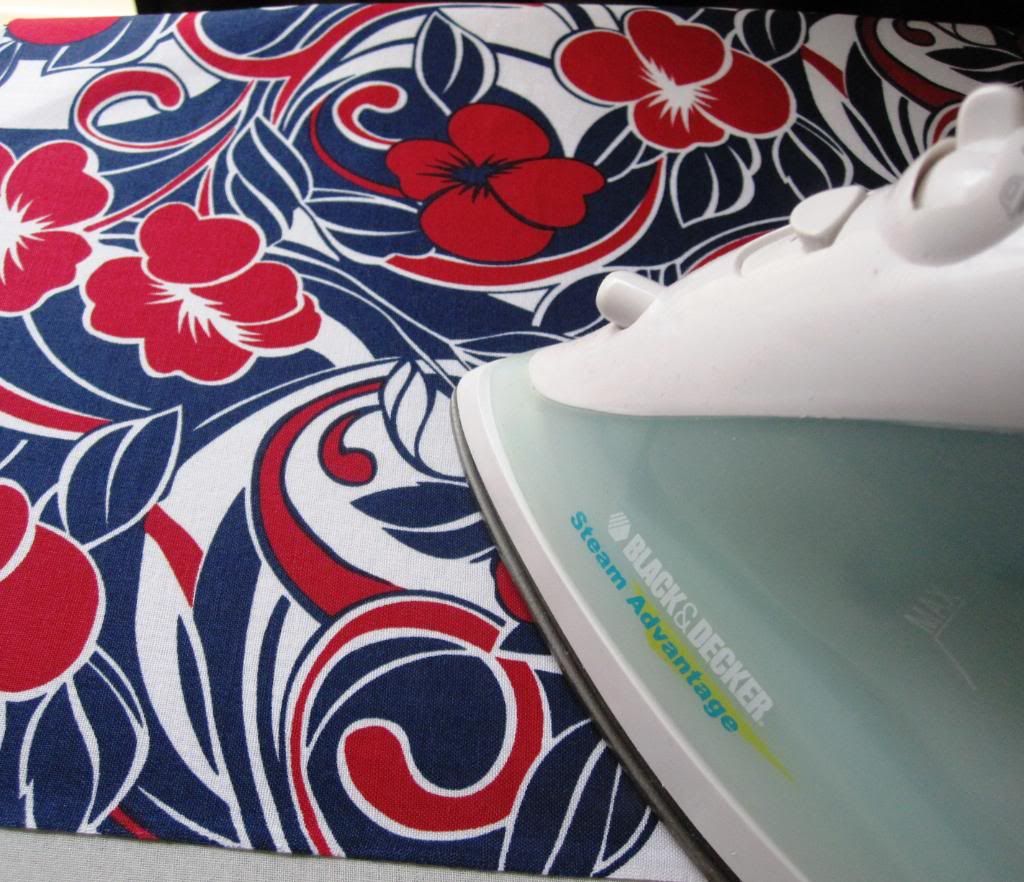
I found this fun red, white, and blue Hawaiian print at Joann's Fabrics a few months back. I was hoping I would find a fun project for it eventually. (I know I'm not the only person who buys stuff thinking, "I'll eventually find something to do with this." Right???)
I always like to iron the fabric before starting a project. That might be one of my OCD tendencies sneaking out. Or, maybe I once heard Martha Stewart say to do that.
Next, you'll make the flowers any way you know how.
For these flowers, I don't think I invented any new way of making them. I'm pretty certain someone else has thought of it and has probably made a tutorial about it, too. I tried to follow a few tutorials to make some flowers I had seen elsewhere, and it did not go well. It was bad, in fact. I almost gave up on make-your-own flowers.
But I didn't. And you shouldn't either!
So just in case, here's a quick flower tutorial.
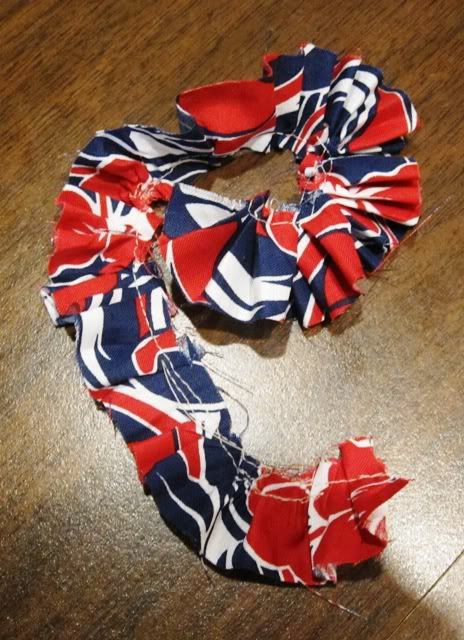
Step 1 - Cut the material into strips about one-inch wide. Length determines the size of the flower. Shorter strips make smaller flowers; longer strips make larger flowers.
Step 2 - Sew a straight line down the fabric, off center, and pleat as you go. It helped to start a few pleats before sliding it into the machine. Then stop, pleat a few more, and sew.

Step 3 - The fabric will likely pull in a spiral with the pleat. Take one end and begin wrapping the material around, hot gluing in place as you go. For smaller flowers, you can also sew an X-pattern through the center to hold all the layers together. For larger flowers, hot glue worked best for me.
Step 4 - Once the flower is put together, take a pin through the center, and secure it in place on the wreath.
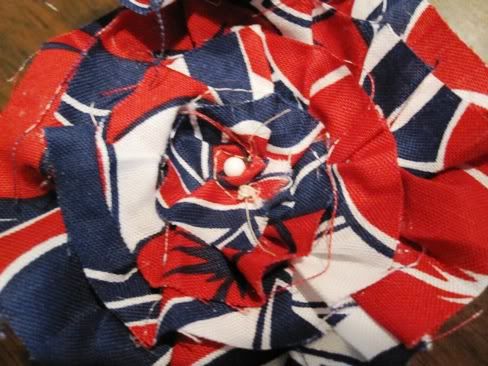
Step 5 - Hot glue a button on top of the pin. For added decoration, you could also cut out a small circle of fabric, or fabrics, then glue the button on top. Lots of ways to add some spunk to the flower.

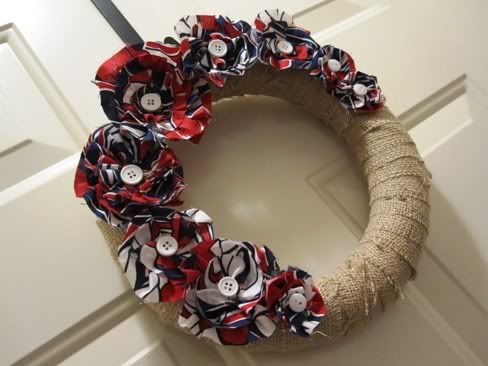
Step 6 - Make flowers of varying size, and arrange them on your wreath however you like. Then hang, and enjoy!


15 comments:
Isn't that clever. Great job. It will look great on the door to welcome everyone.
oh I love it. Very very cute!!!
~Tana
So adorable. I will have to make a wreath!
Oh my gosh - you are amazing!
Very nice! Those flowers are fun to make, too!
What a cute wreath! Love the flowers.
well that's a DARLING idea! i really love how it turned out.
I love this wreath, how perfect for the 4th! You're so creative ~ I'm going to have to try this! Have a great 4th of July! ~Marcy
What a great wreath! As a newbie crafter, I still haven't attempted any fabric flowers yet. Thanks for sharing your technique. I love the way your patriotic flowers turned out!
I love the fabric you chose. And I would love to make flowers that look like yours for headbands for my daughters. Thanks for the inspiration and for leaving a note on my blog!
Love the burlap with the red, white & blue. Those flowers are too cute. I could see them on all kinds of projects.
Would love for you to link up to Fab Finds for the 4th. http://muralmaker1.blogspot.com/2010/06/fab-finds-for-fourth-3.html
It's just so cute! I haven't tried making these flowers yet, but do see them in my future-thanks!
This looks really nice! I might just have to do a version of this myself for the norwegian national day next year!
Kimberly,
Love a good burlap wreath! Thanks for joining the Patriotic Parade!
have a safe and happy 4th!
Linda
Wow, wow, WOW! I LOVE this wreath.... so cute! I hope it's okay. I just finished a wreath round-up on my blog and just couldn't help but feature your super cute wreath! You can see it here:
http://crafteronabudget.blogspot.com/2012/06/memorial-day4th-of-july-wreaths-round.html
Thank you so much for sharing this tutorial :)
Post a Comment