There are tons of tutorials on how to make subway art out in Blog Land, even some that don't use a Cricut. I'll offer my humble tutorial, just in case it makes someone else's efforts easier.
 What You'll Need
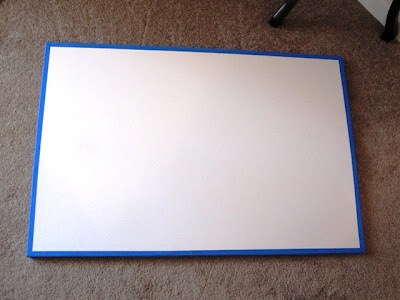
Canvas
White Spray Paint
Black Spray Paint
Ruler
Painter's Tape
Pencil
Contact Paper
Cricut
Cricut Cartridge
Step 1 - Spray a layer of white spray paint on your canvas. Yes, the canvas is white, but sometimes the canvas may be slightly dingy or it might yellow over time. So I spray mine white.
 Step 2
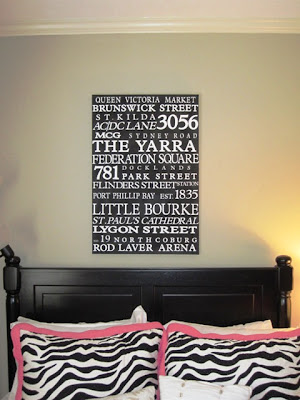
 - I lay out my canvas before I start cutting on the computer or on paper. This is only to help me get an idea of how I want things to look. In this case, it was to see how everything would fit. It's not exact, mostly because I can't control my Cricut to that extent. (However, I think with my new
Silhouette I can.)
 Step 3
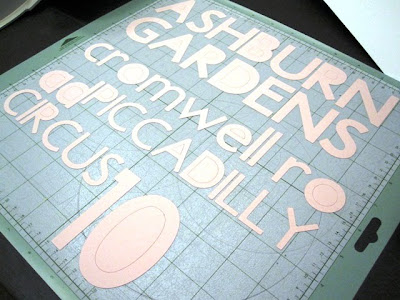
 - With Cricut, I can tell it a length I need to fit. It then tells me how tall each letter will be. If I don't want one that tall, or if I'm looking for something shorter, I just told it how tall to make everything. It sometimes takes a few cuts on bigger or longer words to get everything right. Just be patient, it'll all fit soon.
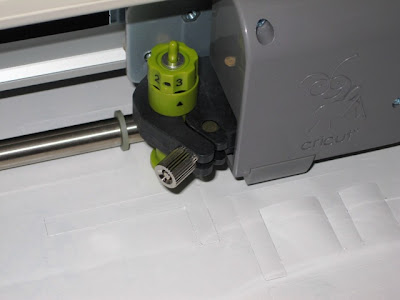
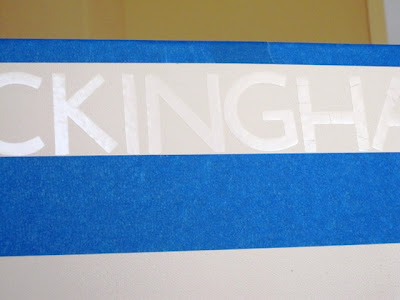
Using the contact paper, cut out a few lines at a time. This will help you with lining everything up.
 Step 4
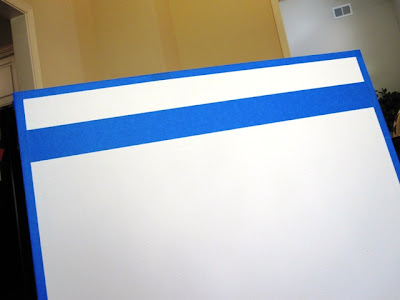
 - I put down a half-inch border around the edge of the canvas. This helped me keep a "frame" of sorts. We didn't do this with the Melbourne canvas, and it looked just as good. This is an optional step.
 Step 5
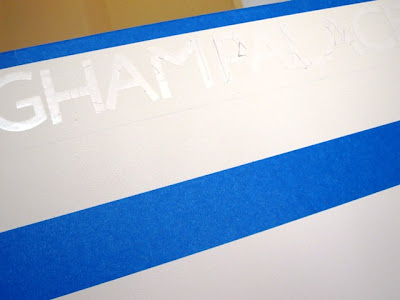
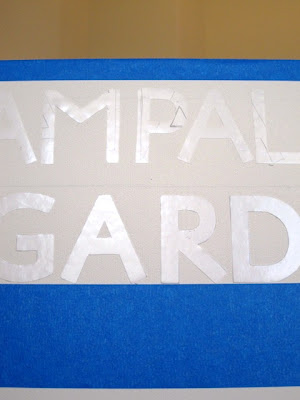
 - Measure the height of your first line. In this case, I think it was 1 3/4". So I measured down 1 3/4" from the bottom of the "frame" and marked a few lines. Then put down painter's tape to give yourself a straight line. Peel off the non-sticky backing from the contact paper and stick the letters to the canvas.
 Step 6
 - Time to lay down another line! I chose to keep about a 1/2" between each line of text. You can do more or less, depending on what you want. So, to do this, I added half an inch to the height of the letters from the next line. For example, if the letters are one inch tall. I'd measure down 1 1/2" and lay the painter's tape at 1 1/2". Then sit the letters just on top of the painter's tape. Repeat for every line.
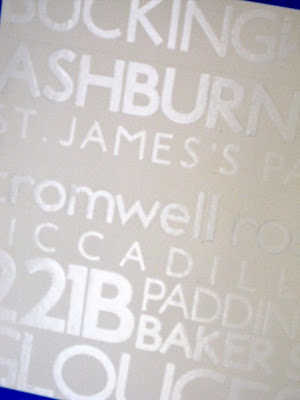
Use a variety of sizes, thickness, uppercase, lowercase, etc. There are lots of examples, like at Tatertots and Jello's
Subway Art Party.
 Step 7
 - When you've finished all your lines, it's important you firmly press all the letters to the board. This helps keep spray paint from getting under the contact paper.
Step 8 - Now, the fun begins! Spray Paint!! Spray a light layer of black (or whatever dark color you want) over the canvas.
 Step 9
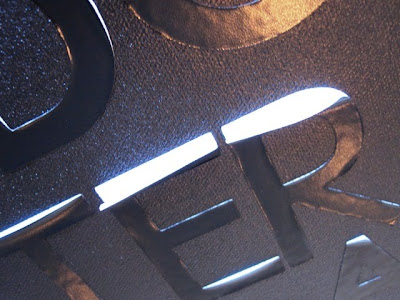
 - Wait a few minutes and do another coat. Then a few more minutes and another coat. The paint can will probably recommend 15 minutes between layers. I don't recommend that. Why? Because those letters may start to curl and you'll get black paint on your white letters. It only took me three coats to completely cover.
Just a quick note - more layers aren't better. The black paint may start to seep under your letters if the paint gets too thick. So, stop yourself once you've covered the canvas. Even if the paint looks uneven. If you can tell it's fully painted black, stop. Sometimes the paint plays tricks on your eyes. :)
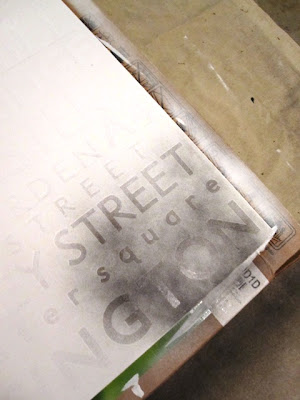
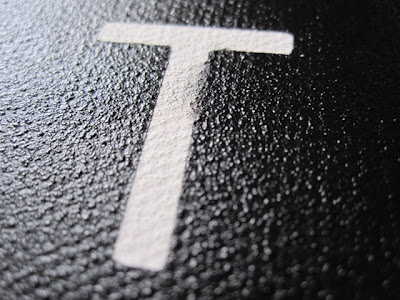
This is that curling action I was talking about.
 Step 10
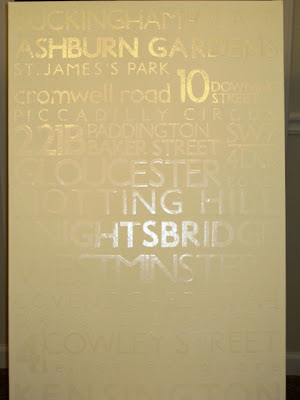
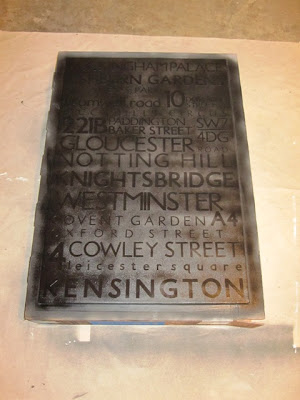
 - Let your canvas dry overnight. (Or at least several hours.) Then gently peel up each of the letters.
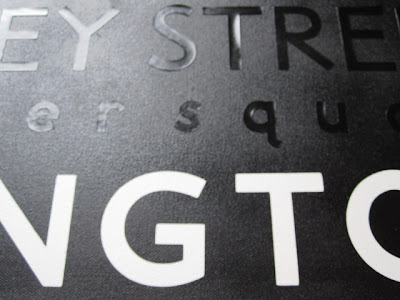
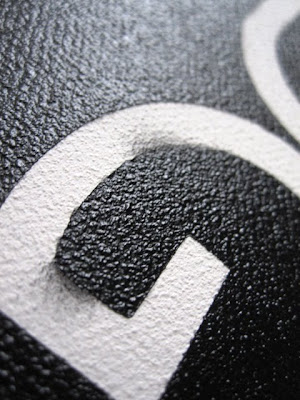
This is that under-the-letter action I was talking about. It's okay. Since you spray painted the canvas white before you put anything on it, you can get a little white acrylic paint and touch it up. No one will know the difference. Miracles.
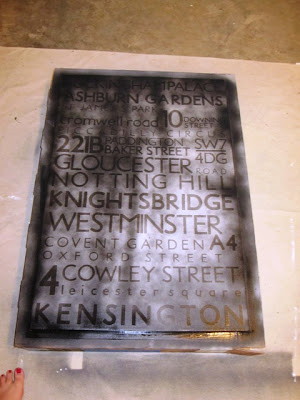
And you're done! Aren't you soooo proud of it???
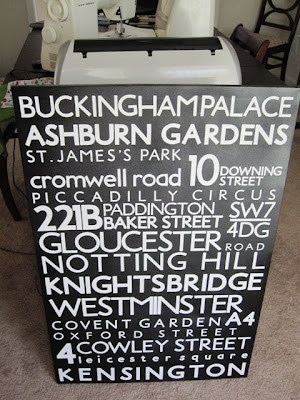
Now, show it off. Brag to your friends. And when they ask you to help them make one, do it. :) You're a pro at this now!
 See something you like? Print it. Share it. Email it. But please, link back here when you do.